


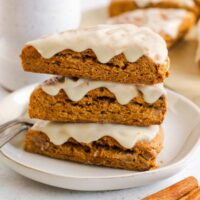
Wholesome gluten-free pumpkin scones made with real pumpkin, warm spices and clean ingredients. Easy to make and ready for the oven in 20 minutes. Grab a cup of coffee and enjoy these for breakfast or brunch.
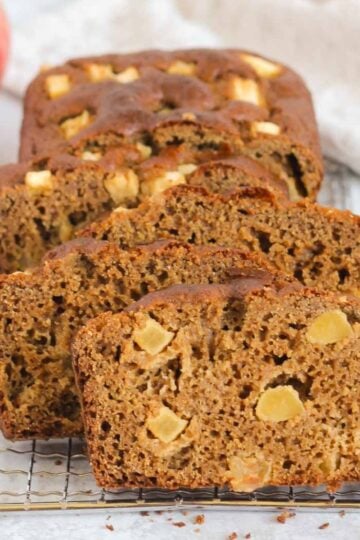
Craving more pumpkin baked goods? Try my gluten-free pumpkin chocolate chip bread or pumpkin breakfast cookies next.
Gluten-free Pumpkin Scones Features
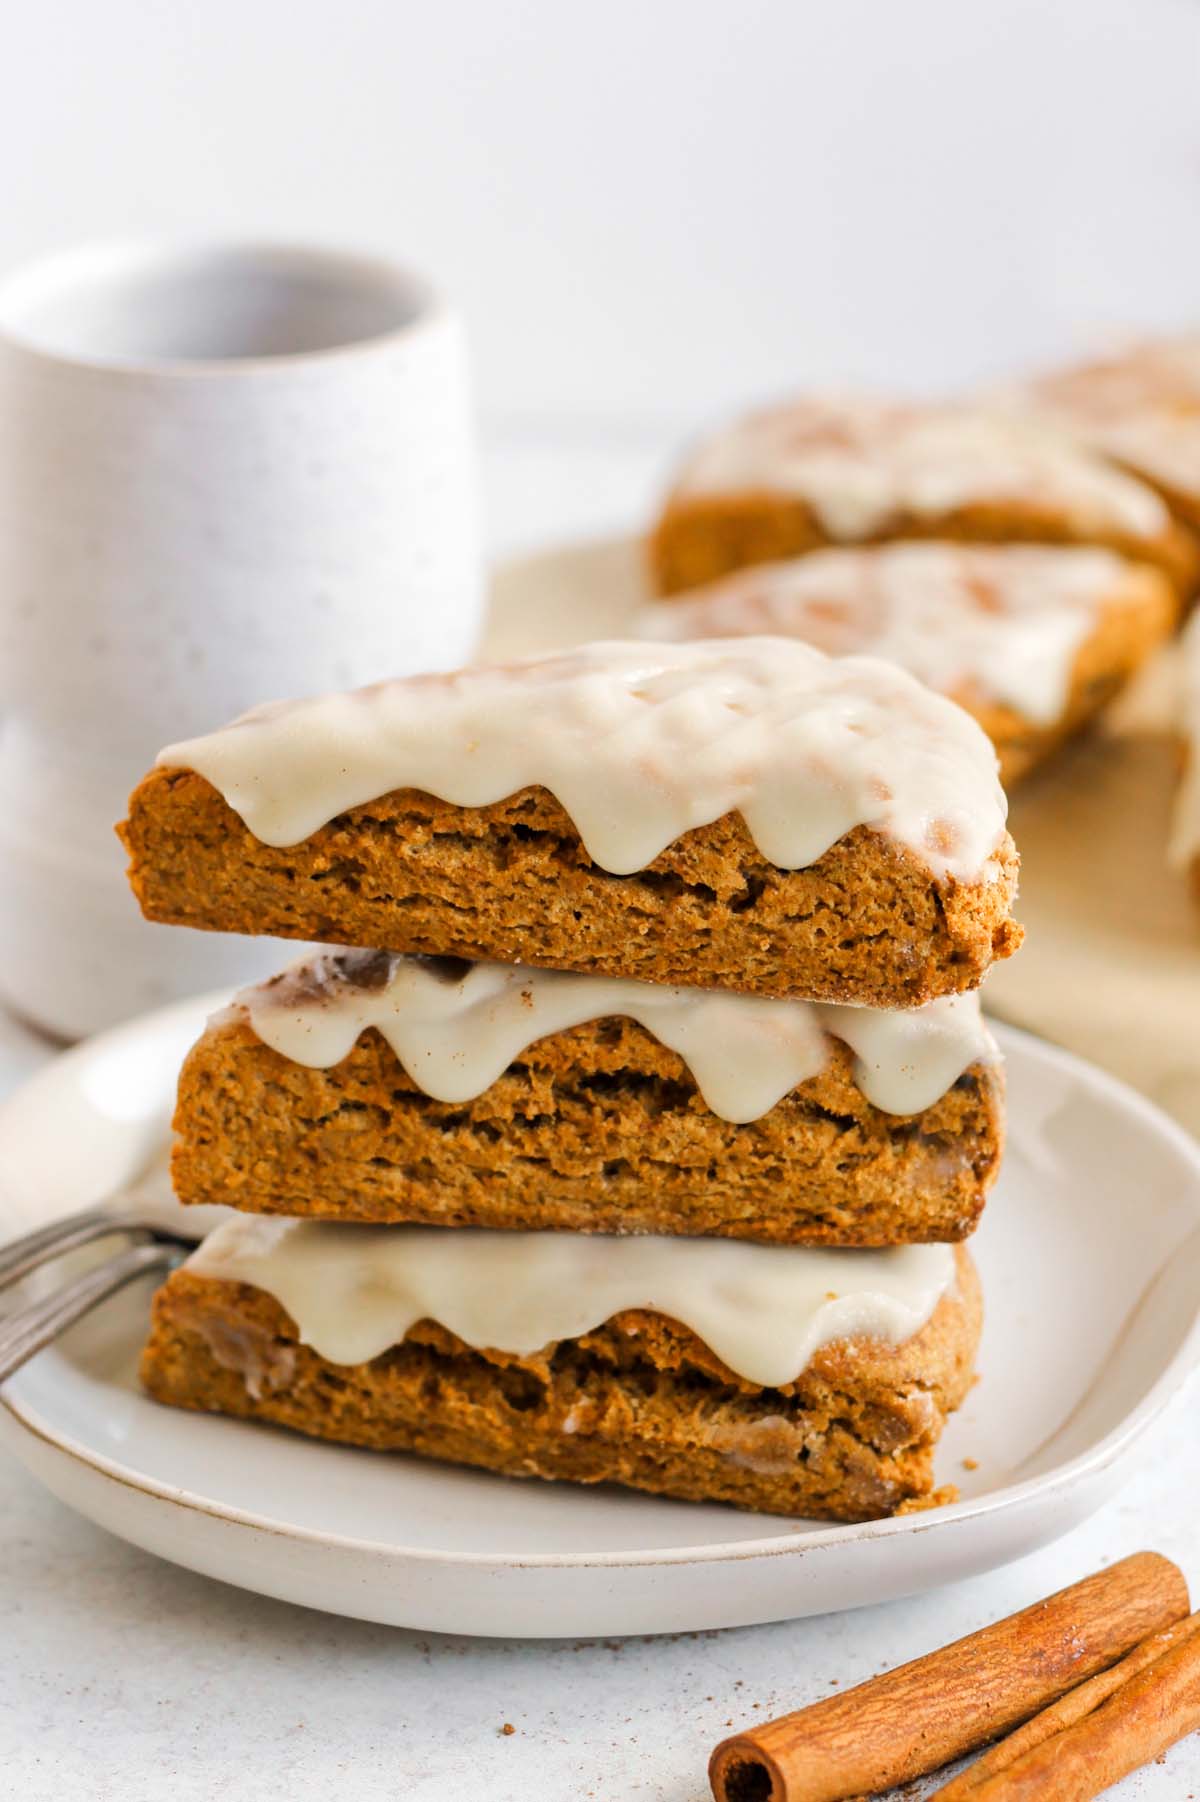
- Perfect texture - Slightly crisp on the outside with a crumbly and tender interior. The combination of textures makes for a delectable treat.
- Gluten free, refined sugar free, with an option for dairy free - Made with gluten free flours and naturally sweetened with coconut sugar. Easily can be made dairy free, too.
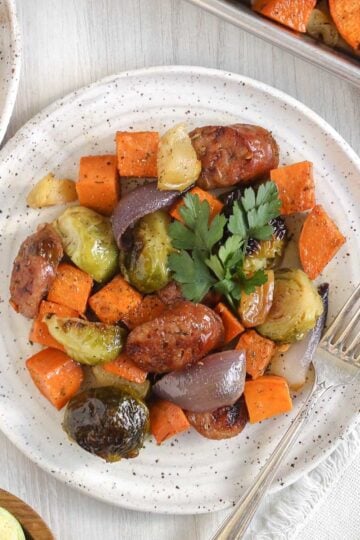
- Cozy fall flavors - Pumpkin spice, warm cinnamon, and maple glaze! And if you're into all things fall flavors right now, try my gluten-free apple blondies and easy pumpkin spice granola.
- Easy to make - Scones are surprisingly easy to make! No mixer, no rolling, and no chilling needed.
These gluten-free pumpkin scones are going to be your new favorite fall treat. Perfect in the morning, as a snack, or an after-dinner treat. Full of fall spices and topped with delicious and easy homemade healthy glaze.
If you've never made scones before, now is your time to try. They are actually very easy to make. I use a combination of gluten-free flour blend and almond flour to create just the right soft and fluffy interior with a slightly crips exterior - just like a scone should be.
Jump to:
Ingredient Notes
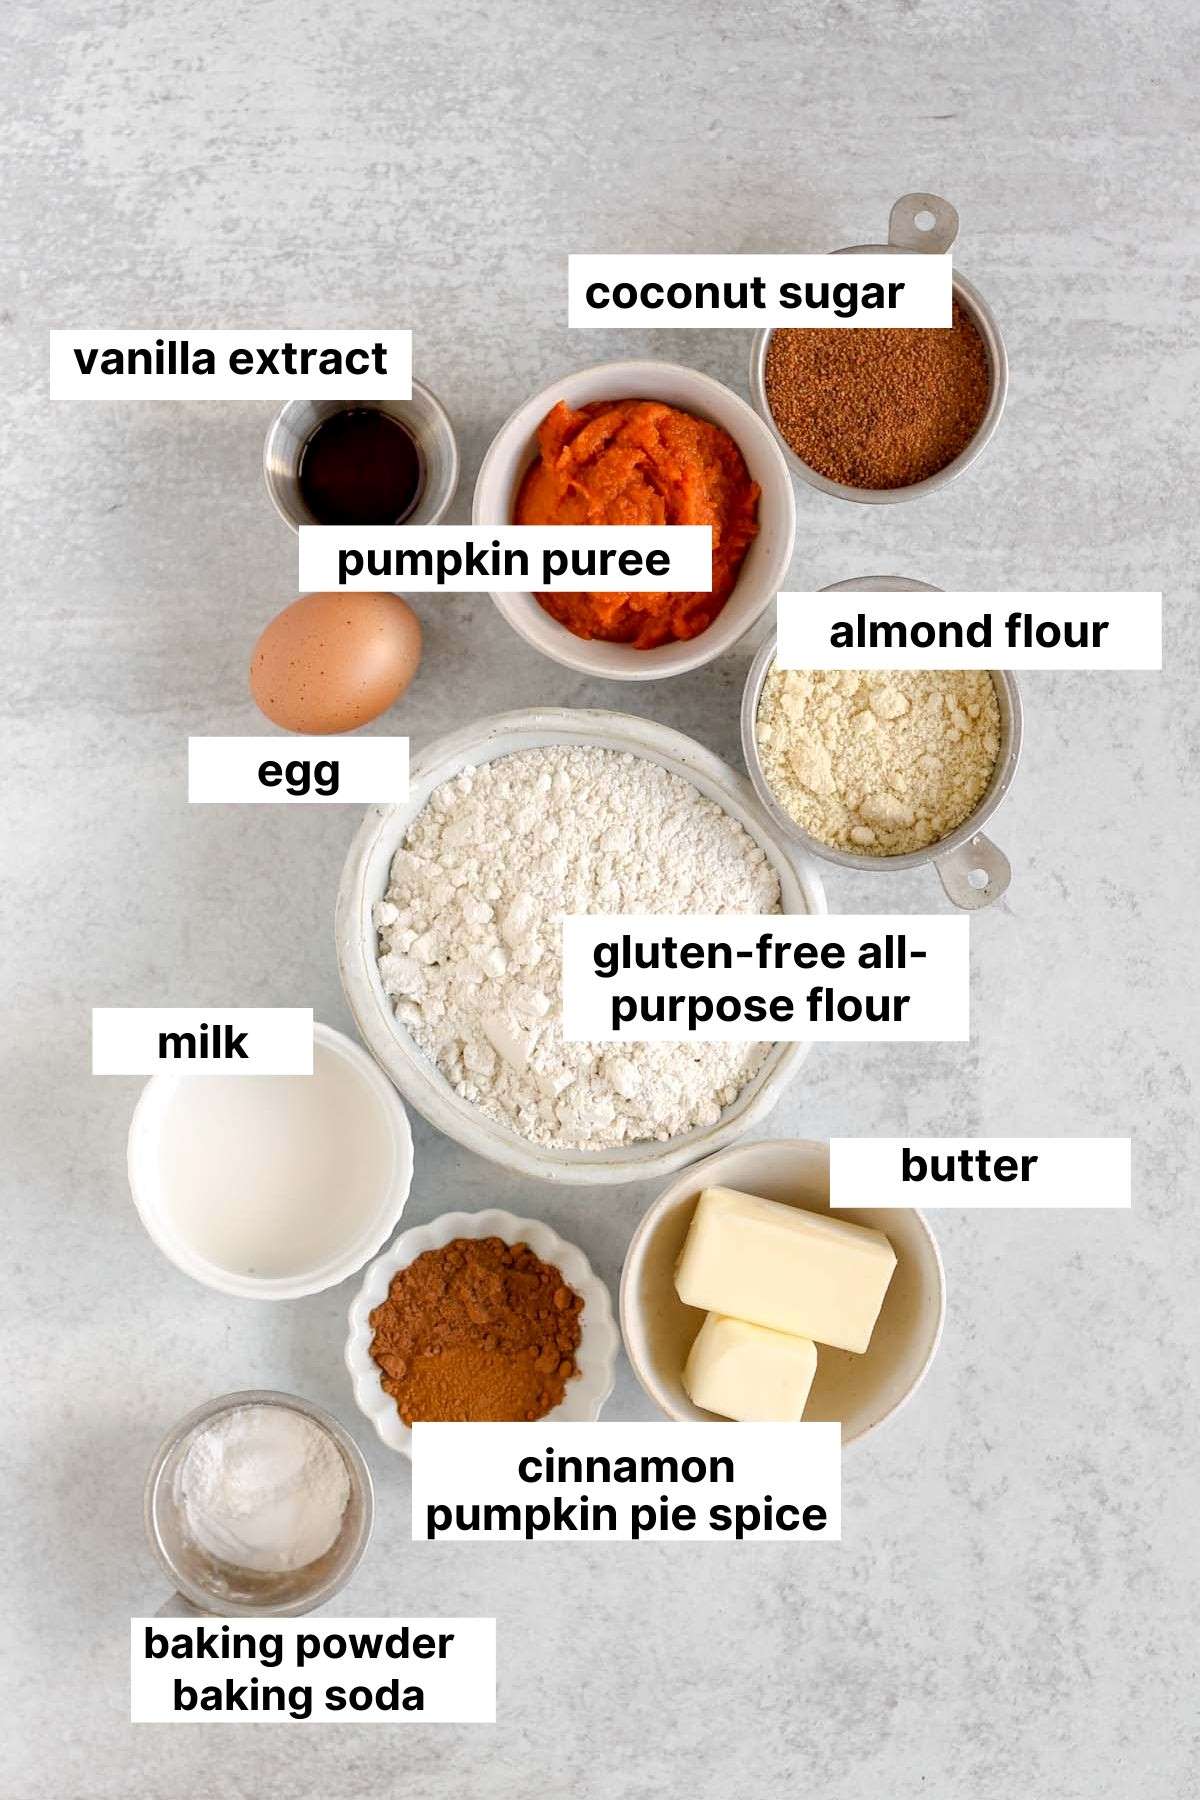
- Gluten-free all-purpose flour - I have had success using both King Arthur's and Bob's Red Mill gluten-free flours in this recipe. Although my favorite gluten-free flour is Namaste Organic Perfect Flour Blend, I did not use that when testing this recipe.
- Almond flour - Make sure to use almond flour and not almond meal. Almond meal isn't as coarsely ground and won't result in the same texture. You can also use your almond flour in these gluten-free almond flour biscotti.
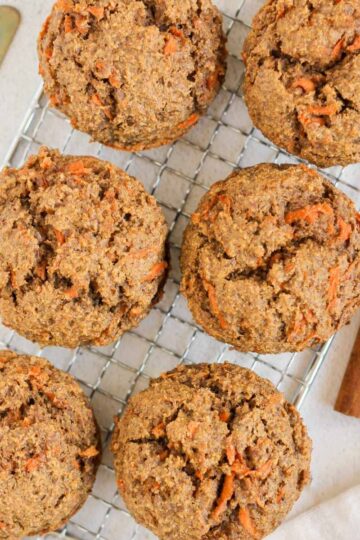
- Pumpkin puree - Please use pumpkin puree, which is just pumpkin, and not pumpkin pie mix (which has added spices and sugar). If you have more pumpkin puree, try these gluten-free almond flour pumpkin muffins.
💚Clean food tip: I like using grass-fed/pasture raised butter as it contains more nutrients and is higher in healthy fats compared to conventional butter (I also love that is supports natural habitats for the cows).
A complete list of ingredients and amounts can be found in the recipe card below. Here are some specific callouts, and when needed, tips on keeping the ingredients clean.
Substitutions & Variations
- For dairy-free scones, use coconut oil instead of the butter and use dairy-free milk. I like using dairy-free milk that contains just the milk source and water (for example, almonds and milk) and no additives. My favorite dairy-free milks are Malk and Three Trees.
- For vegan scones, make the above substitutions for dairy free and also use a vegan egg replacement. Please note that I have not tried making these vegan. If you do try an egg substitute, please let me know how they turn out.
- White sugar, cane sugar, or brown sugar, can be used instead of coconut sugar. I like baking with coconut sugar as it's considered an unrefined sugar. You'll find me using it in my easy healthy apple crisp to my oat flour brownies.
- Try pumpkin pecan scones by adding ½ chopped pecans to the dough before shaping.
- And you can never go wrong with chocolate. For a pumpkin chocolate chip scones, add ½ cup chocolate chips to the dough before shaping. Or try my gluten-free pumpkin chocolate chip bread recipe.
Step-by-Step Directions
Follow these easy instructions for making these gluten-free pumpkin scones.
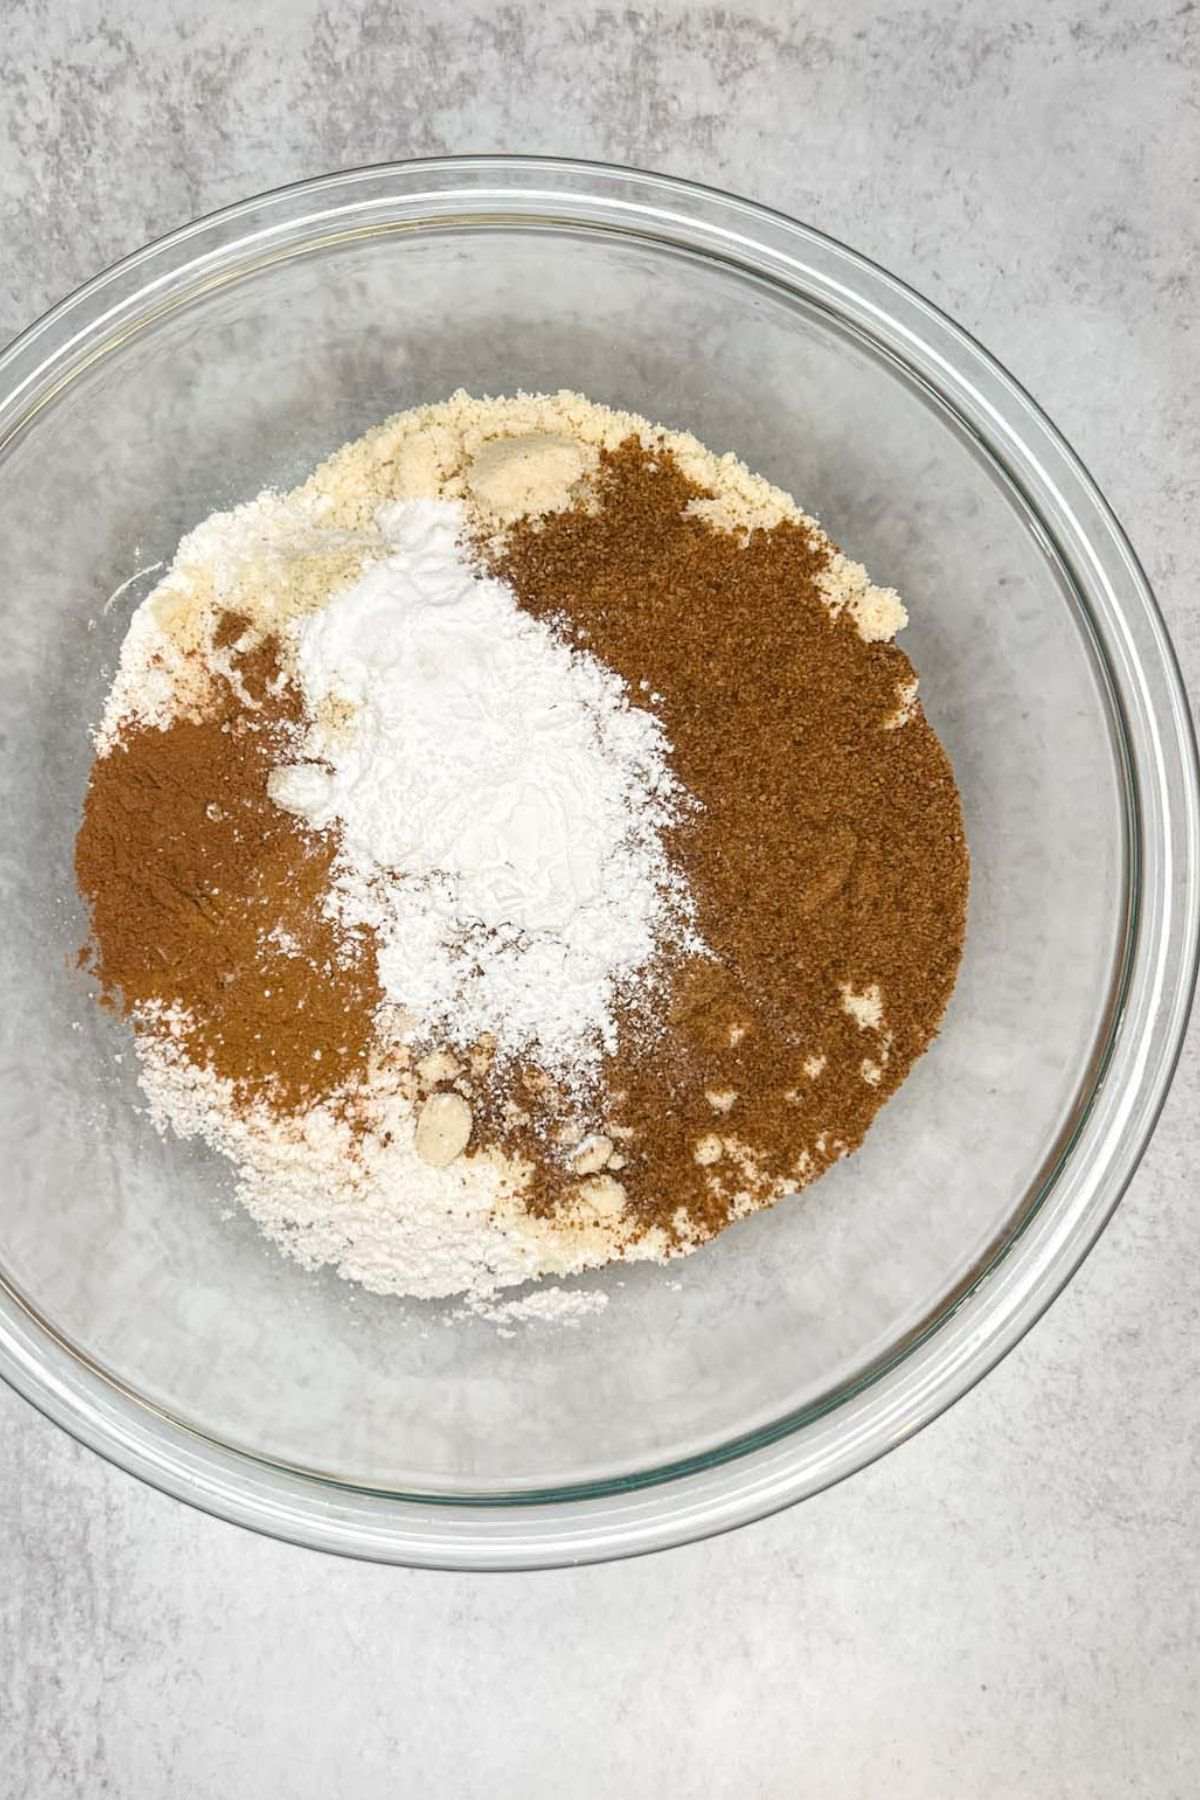
Step 1: Add the dry ingredients to a large mixing bowl and mix until combined.
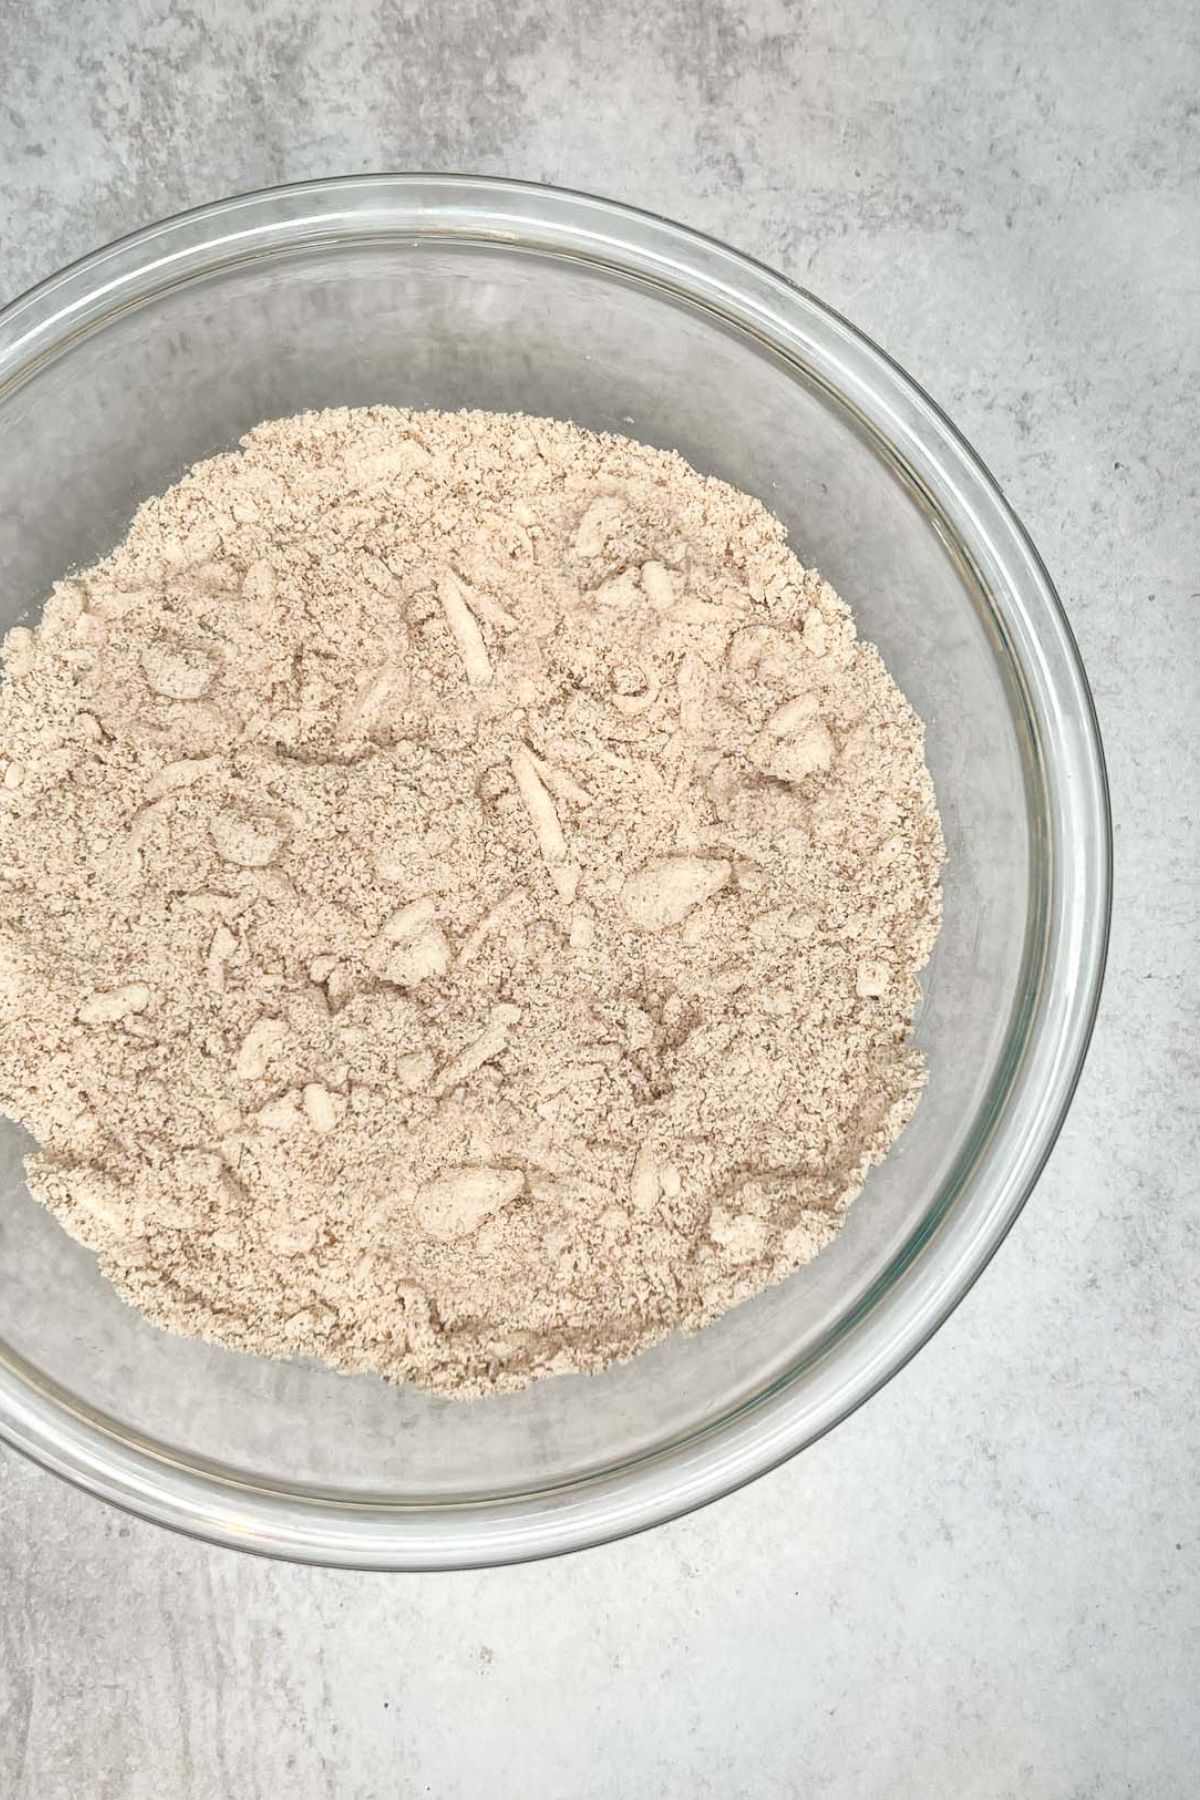
Step 2: Grate the frozen butter and then using a pastry cutter, or fork, cut the butter into the flour mixture.
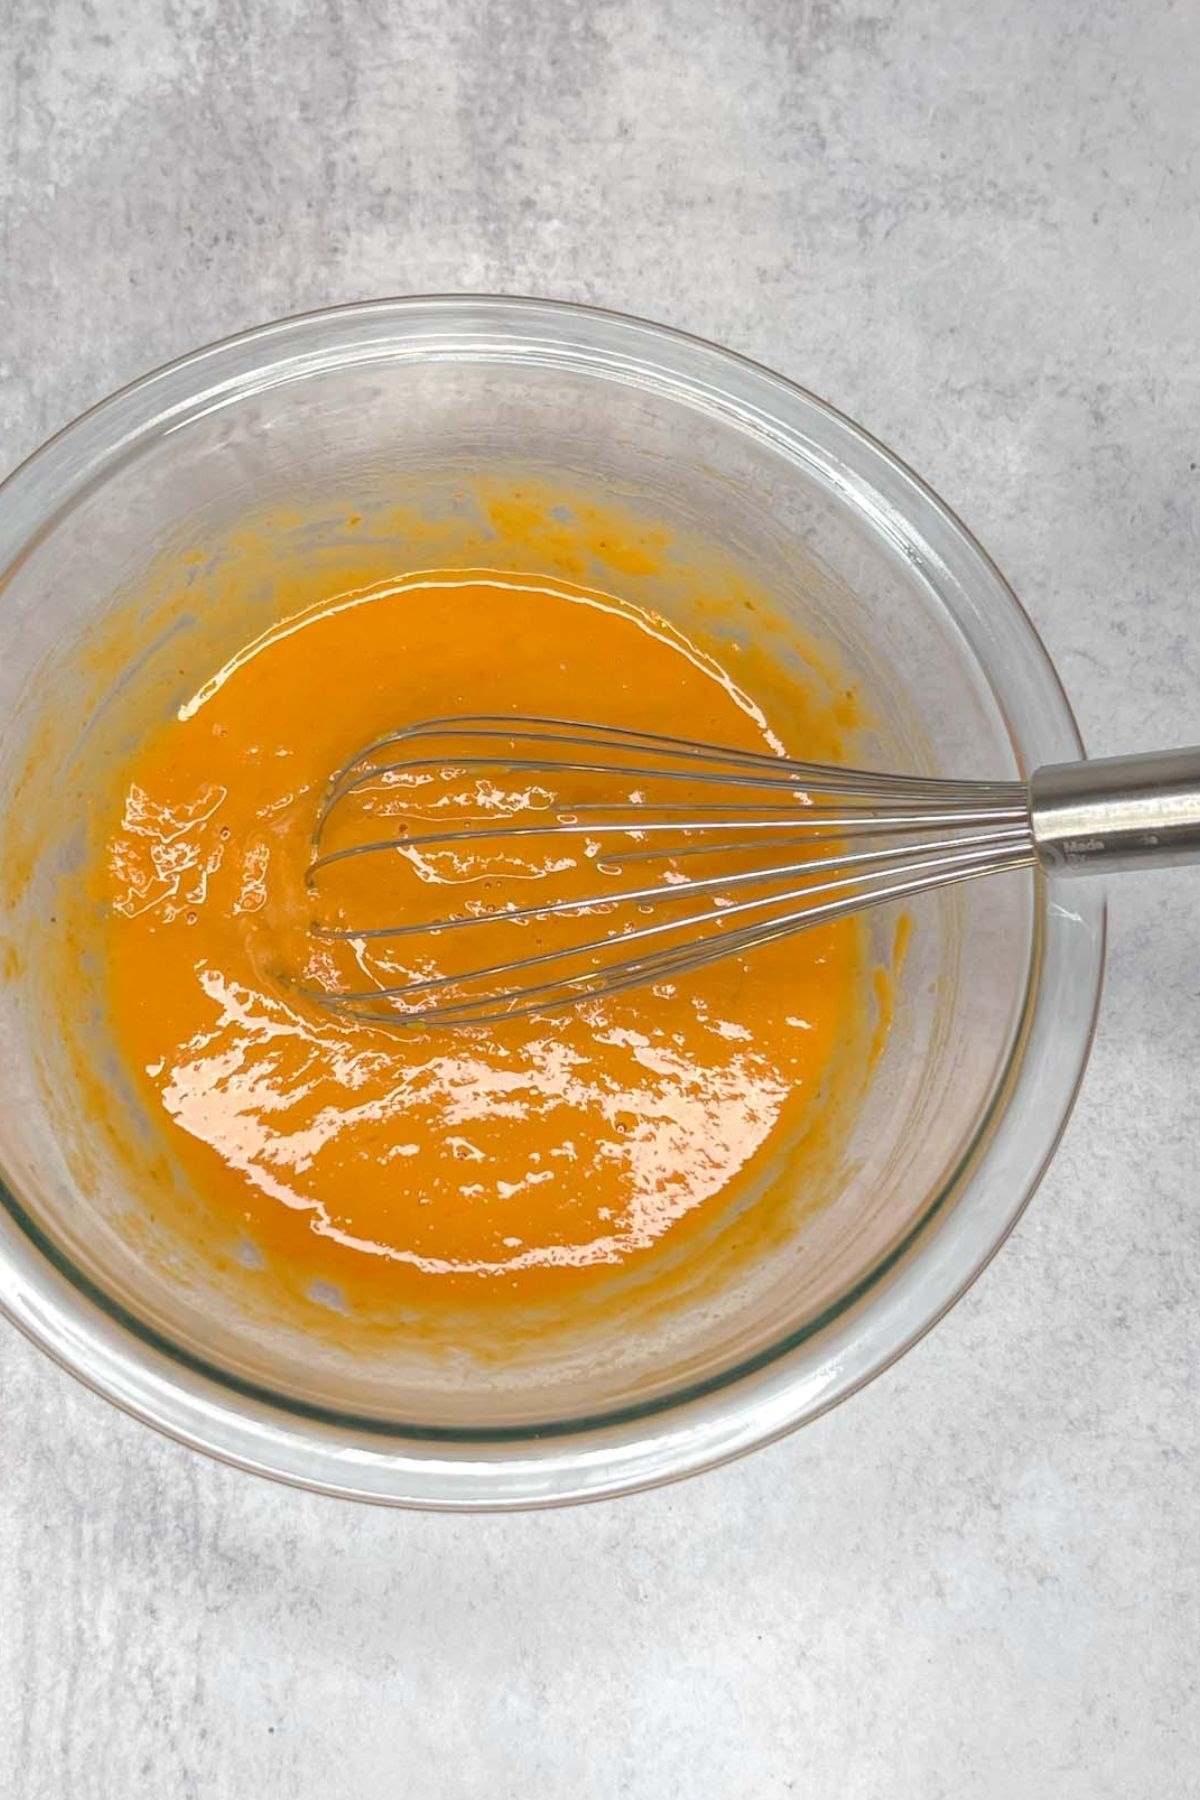
Step 3: In a small bowl, whisk together the wet ingredients.
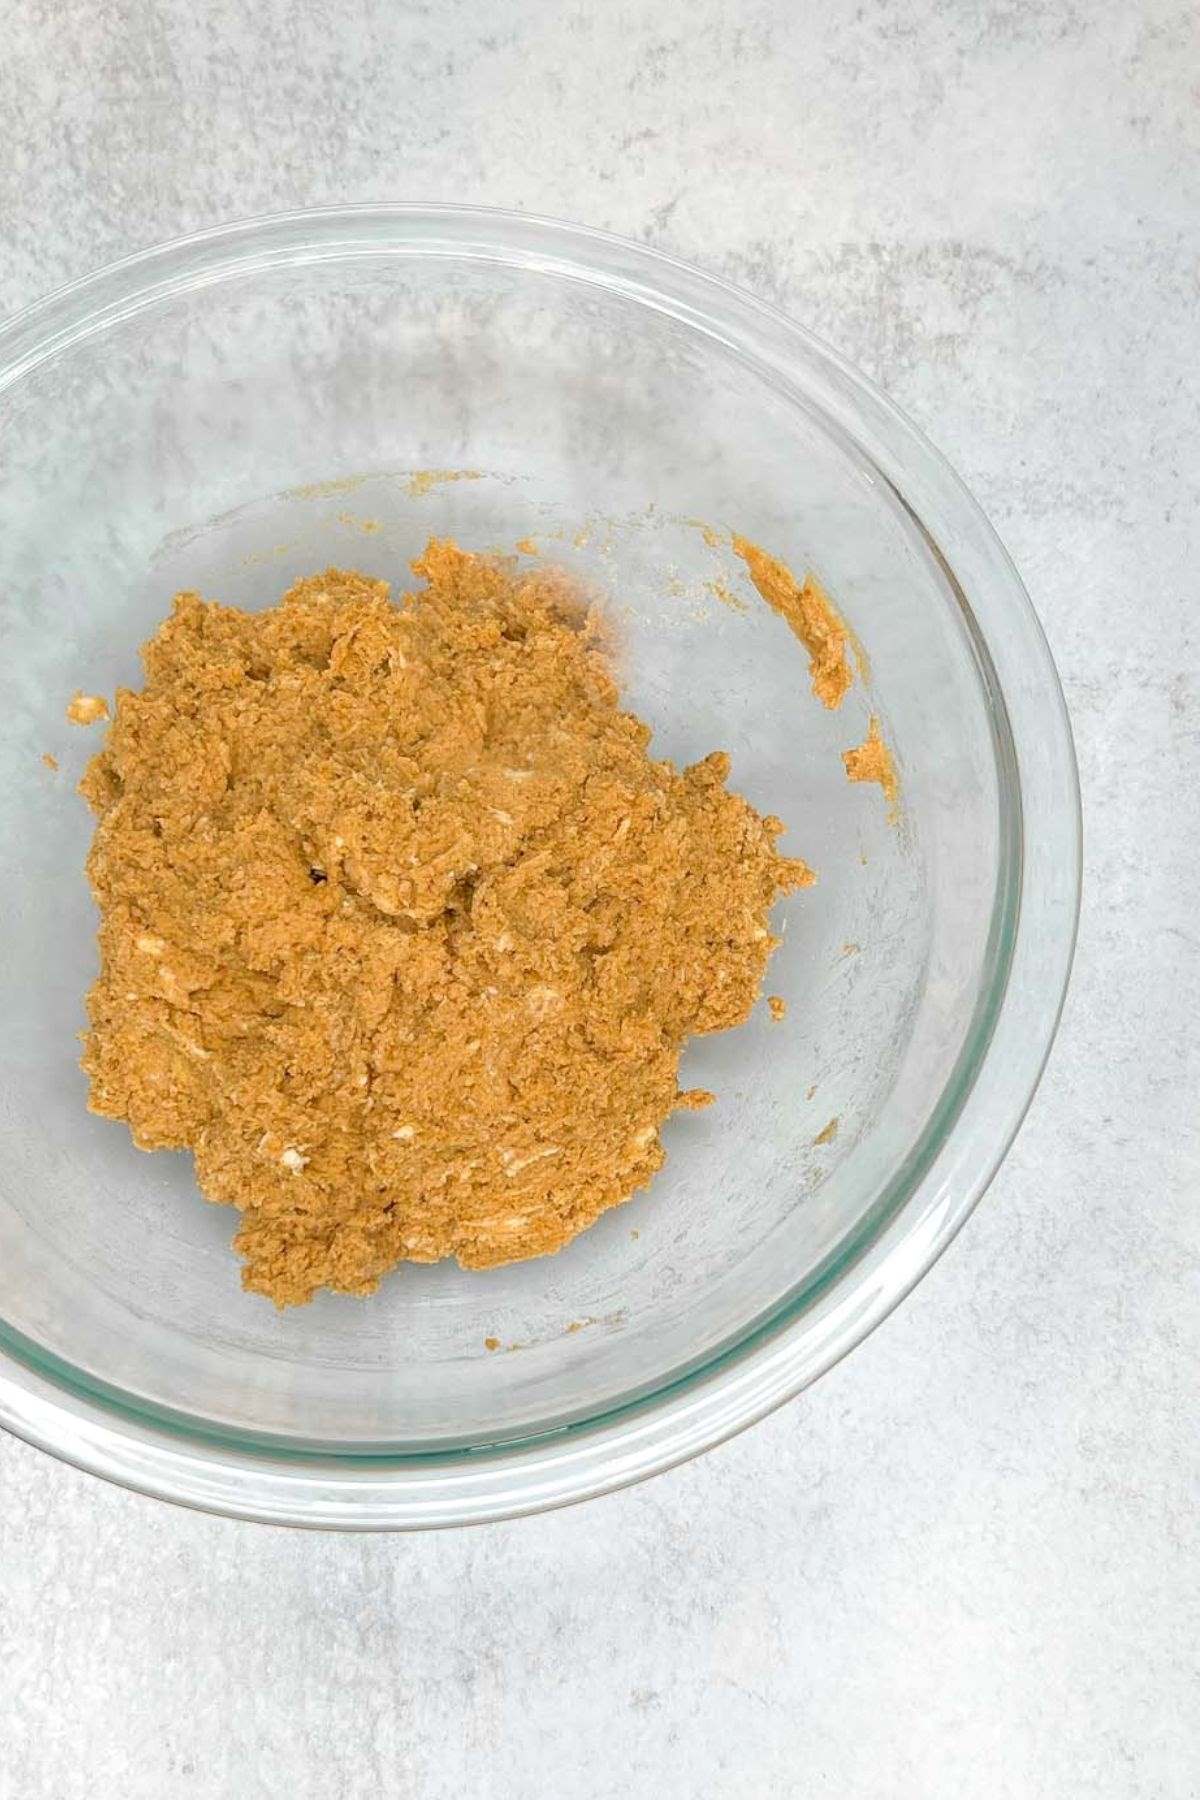
Step 4: Add the wet ingredients to the bowl with the dry ingredients and mix until just combined. You may need to use your hands to fully mix together.

Step 5: Shape the dough into a ball and transfer to a floured surface. Flatten dough ball into a ¾" high disc. Using a sharp knife, cut the disc into 8 even triangles.
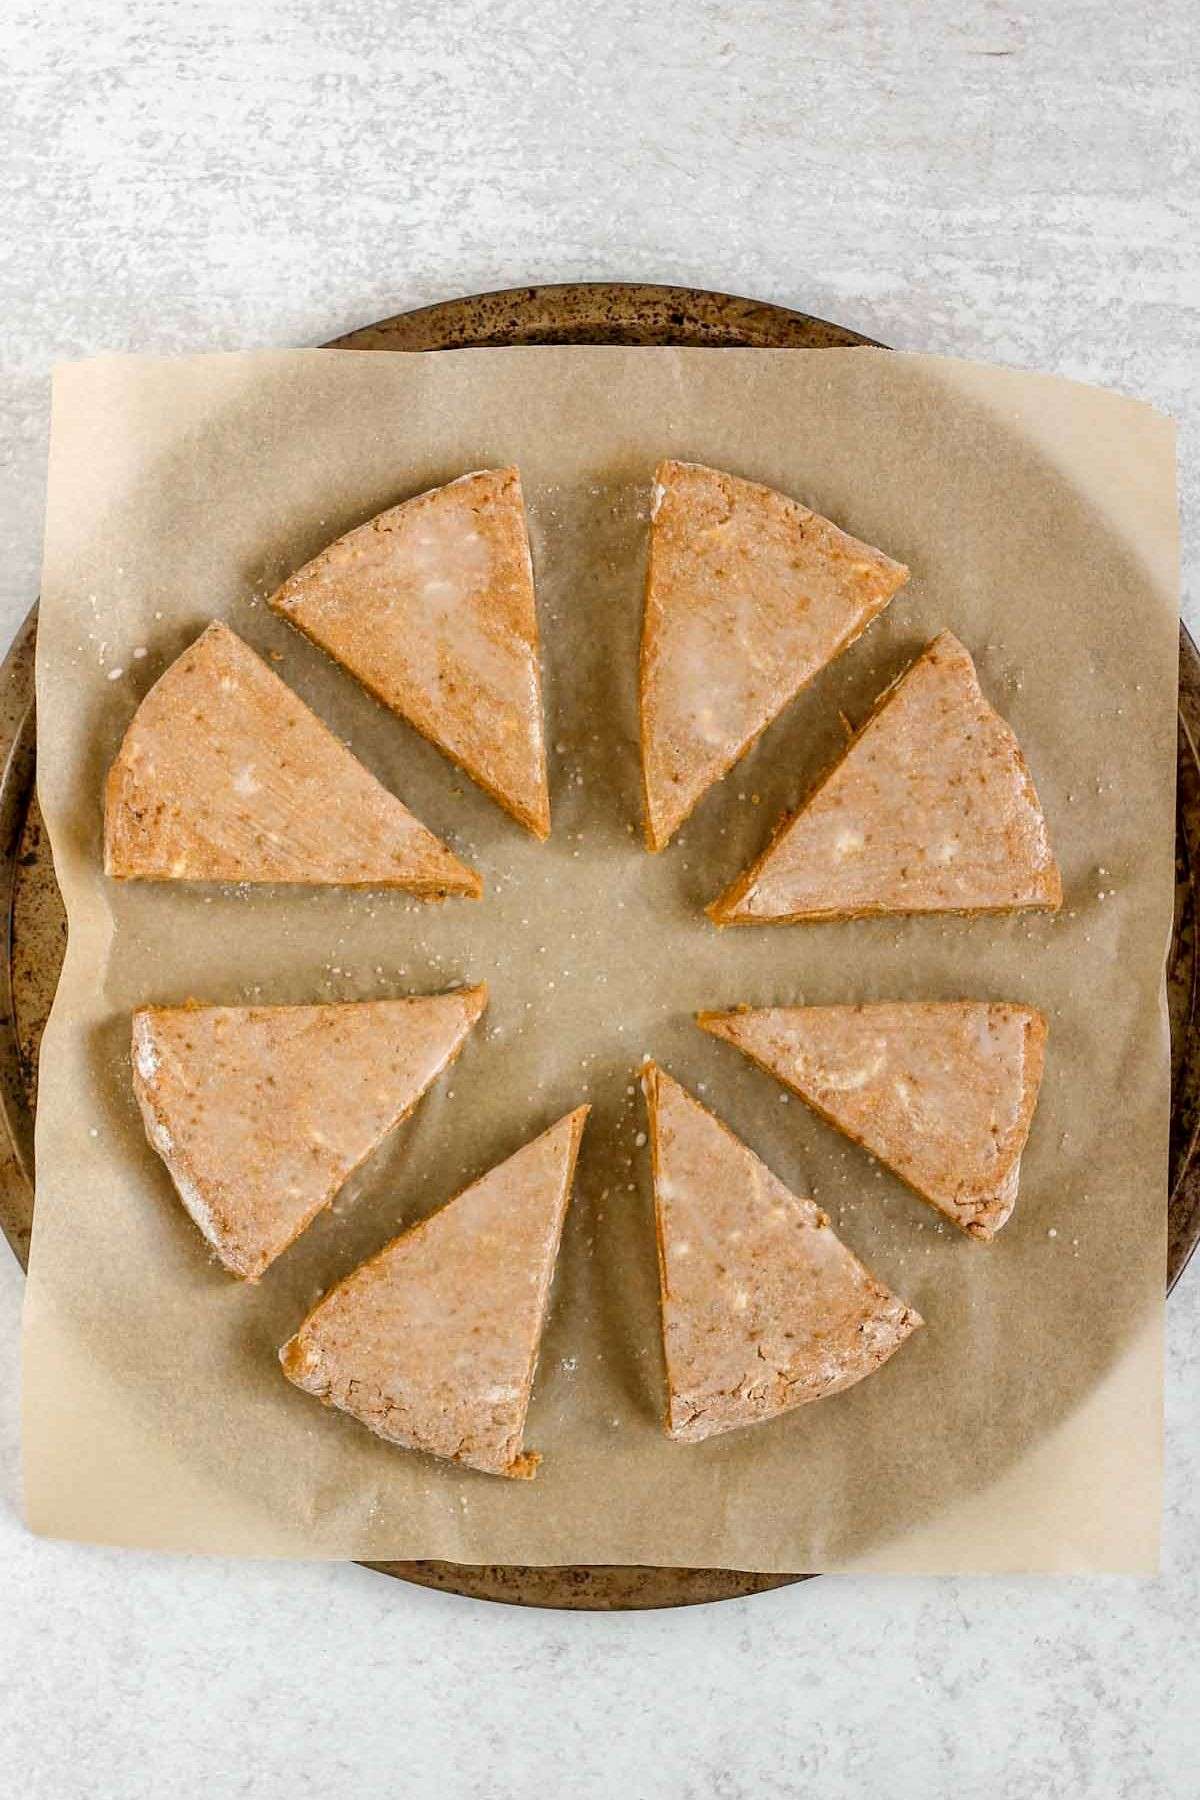
Step 6: Transfer triangles to a parchment paper lined baking sheet and brush each scone with milk. Bake at 400-degrees F for 18-20 minutes.

Step 7: To make the coconut butter glaze, soften the coconut butter in the microwave then add the maple syrup and milk and whisk until smooth and spreadable.
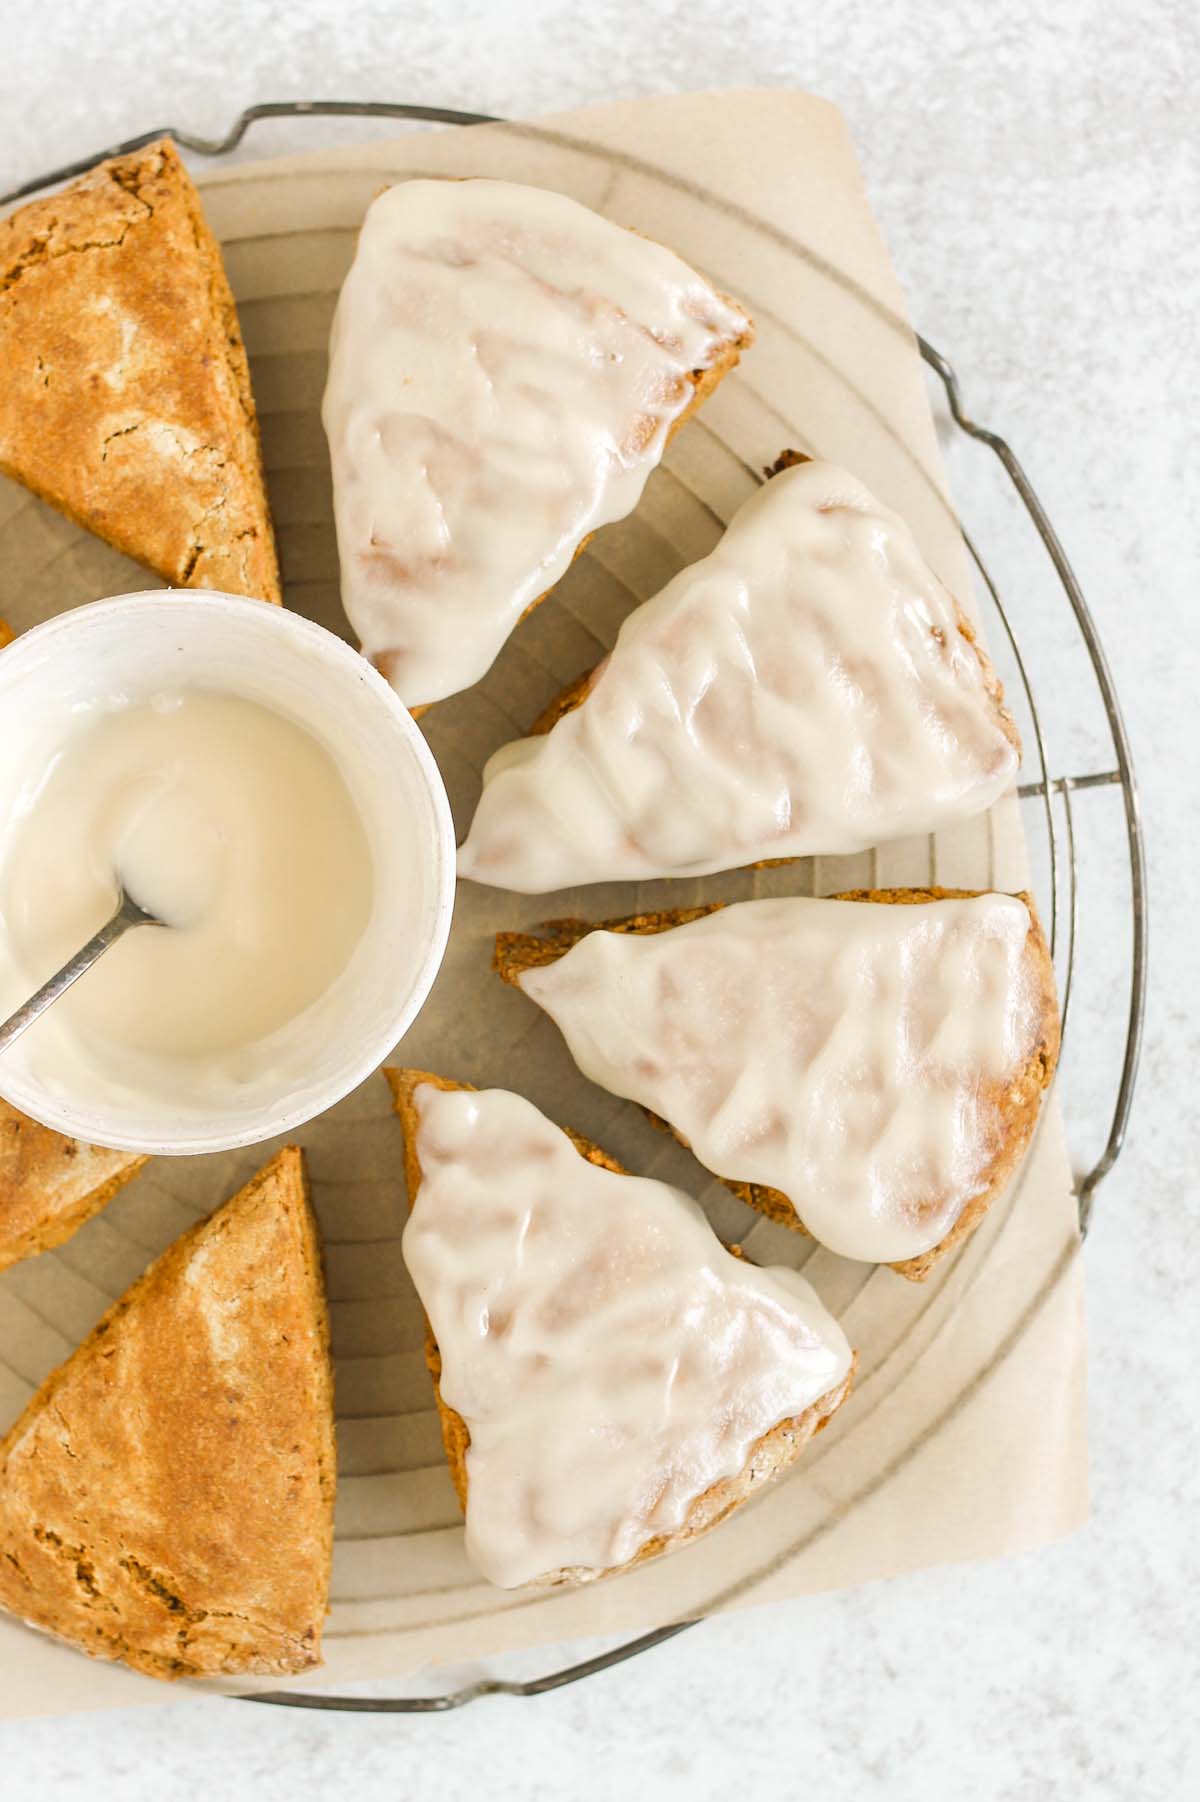
Step 8: Spread or drizzle glaze onto each scone. See directions below for making a classic powdered sugar glaze (if desired).
⭐Important note: Pumpkin puree brands can vary in moisture, so if your dough is too sticky to handle increase the amount of gluten-free flour by 1-2 tablespoons until the dough holds its shape without being overly sticky (it's okay if it's slightly sticky).
Expert Baking Tips
Use frozen butter... the colder the butter the better! Using frozen butter allows the butter to stay solid when mixed with the other ingredients, thus allowing it to wait and melt in the oven. This helps with the nice flaky/tender texture scones are known for.
I recommend using a pastry cutter when cutting the butter into the dry ingredients and a pasty brush when brushing milk on the scones before baking.
I find it helpful to mix the dough by hand. But don't overmix! You don't want to accidentally warm the butter and end up mixing the butter fully into the dough.

Storing and Freezing
Storing: These are best served within a few hours of baking, however, any leftovers can be stores at room temp for up to 24 hours. To extend freshness, you can store them in an air right container in the fridge for 3 days and slightly warm in the microwave to soften them up.
Freezing: To freeze, individually wrap each scone in tin foil or plastic wrap and place in a freezer safe container. They will stay good for up to 3 months in the freezer. Allow to thaw for a few hours at room temp. Place in the oven at 300-degrees F. for about 5 minutes to warm them up.
If freezing, I recommend freezing without the glaze. You can always add the glaze after they have been thawed and warmed up if you'd like.
Recipe FAQs
They should be lightly golden on the edges and firm to the touch. A toothpick entered in the center should come out mostly clean.
Yes! You can prep the dough, cut into wedges and refrigerate overnight. Just pop them in the oven the next morning. If baking directly from the fridge, add 2-5 minutes of baking time.
Absolutely! Use coconut oil or vegan butter in place of the butter and use unsweetened dairy-free milk.

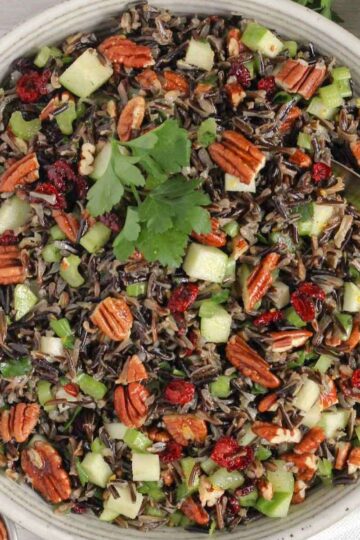
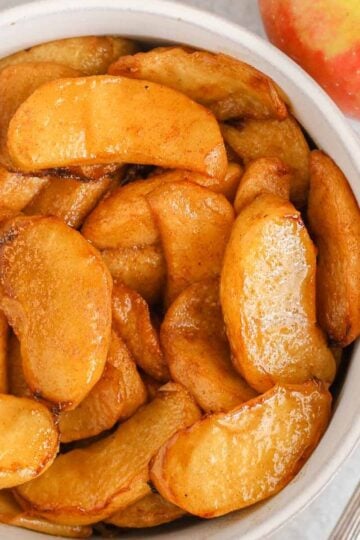
More Fall Recipes to Try!

If you make this recipe, please let me know what you think! I would so appreciate you leaving a star rating and/or comment below. And don't forget to share a photo on Instagram or Facebook and mention @CleanPlateMama!
Eat Clean.Be Well!
-Sara
Gluten-free Pumpkin Scones
Save This Recipe For Later!
Equipment
- 2 mixing bowls
- 1 Baking sheet
- 1 pastry cutter
- 1 pastry brush
Ingredients
Ingredients for the Scones
- 1 ½ cups gluten-free all-purpose flour
- ¾ cup almond flour
- 2 tsp. baking powder
- ½ tsp. baking soda
- 1 tsp. ground cinnamon
- 2 tsp. pumpkin pie spice
- ⅓ cup coconut sugar
- 6 tbsp. unsalted butter, frozen (see notes)
- 1 egg
- ½ cup pumpkin puree (not pumpkin pie mix)
- 1 tsp. pure vanilla extract
- ¼ cup milk (plus more for brushing on scones)
Ingredients for Coconut Butter Glaze
- ¼ cup coconut butter
- 1 tbsp. pure maple syrup
- 1 tbsp. milk
Ingredients for Powdered Sugar Glaze
- ½ cup powdered sugar
- 1-2 tbsp. milk
- ½ tsp. pure vanilla extract
Instructions
- Pre-heat oven to 400-degrees F. Line a baking sheet with parchment paper and set aside.
- Whisk dry ingredients (gluten-free flour, almond flour, baking powder, baking soda, cinnamon, pumpkin spice, and coconut sugar) together in a large mixing bowl.
- Using a box grater, grate the frozen butter. Add butter to the dry ingredients. Using a pastry cutter, or back of a fork, cut the butter into the flour mixture until small butter crumbs form.
- In a separate small bowl, whisk together the egg, pumpkin puree, vanilla, and milk. Add this to the flour/butter mixture and stir with a wooden spoon until a dough forms (you may need to use your hands to fully mix the ingredients together). Note: dough will be slightly sticky!
- Using your hands, shape the dough into a large ball (coat your hands in gluten-free flour if needed). Transfer dough to a floured surface and then sprinkle dough ball with additional gluten-free flour. Shape the dough into a disc that is roughly 6" wide and ¾" high. Use a sharp knife to cut the dough into 8 equal triangles.
- Transfer the dough triangles to the prepared baking sheet, leaving about an inch between each scone. Brush each scone with additional milk.
- Bake for 18-20 minutes, or until scones are golden brown around the edges and are fully set in the center.
- Allow to cool. If adding glaze, drizzle with glaze after they have cooled. Enjoy!
Instructions for Coconut Butter Glaze
- Add coconut butter to a small microwave safe bowl. Warm the coconut butter in the microwave until it is soft, but NOT melted. This should take roughly 30 seconds.
- Using a fork, or small whisk, mix in the maple syrup and milk. Start with 1 tbsp. milk and add additional milk if needed until the glaze is thick, but spreadable/able to drizzle.
- Either spread or drizzle glaze evenly over each scone. Glaze will harden as it sets.
Instructions for Powdered Sugar Glaze
- Add powdered sugar to a small bowl. Add the vanilla and milk, starting with 1 tablespoon of milk, and stir with a fork or small whisk. Add additional milk as needed until glaze is thick but you are able to drizzle.
- Evenly drizzle glaze over each scone.
Notes
- Spoon and level (both the gluten-free flour and almond flour) when measuring the flours. This ensures you don't overpack the measuring cup and end up with too much flour/dense scones.
- I like using frozen butter as it keeps the butter nice and cold when mixed in with the other ingredients, but butter straight from the fridge can be used too. If your butter isn't frozen, cut into small cubes as opposed to grating as the directions state.
- Estimated nutritional value is based on the scones with the coconut butter glaze.

Leave a Reply